Gardening is a fun and rewarding hobby, and if you grow fruit and veg, it can also provide you with delicious fresh food too. If you want to add a lively atmosphere to your garden, a birdhouse may be also a good try.
Unfortunately, obtaining plants for your garden can become expensive – but it doesn’t need to cost you anything since you can also get so much without paying. And to help you learn about how, here are our favorite 19 ways to get plants for free.
How & Where to Get Free Plants
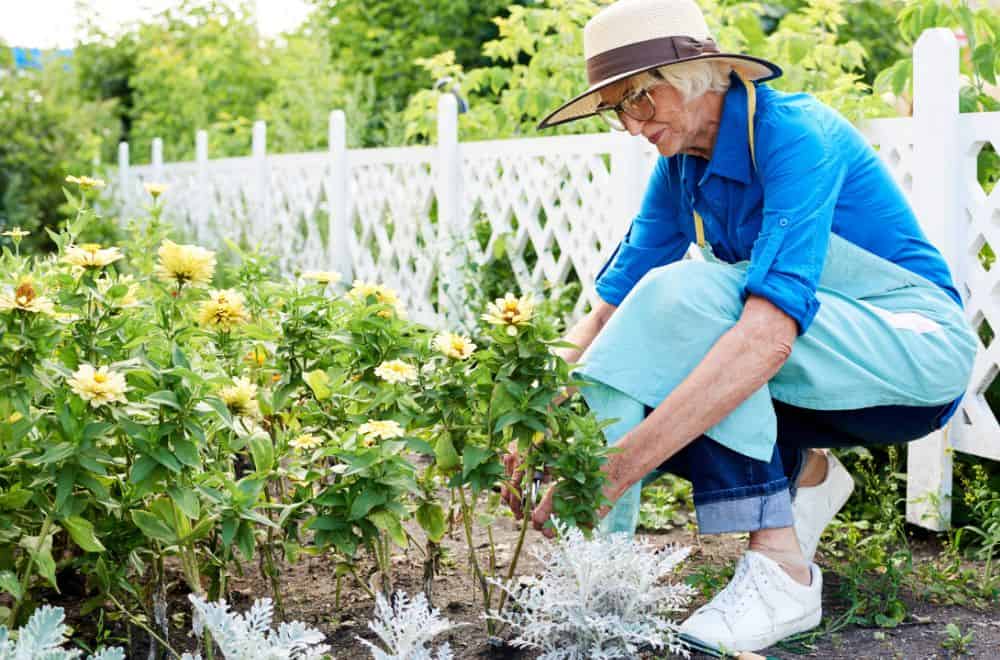
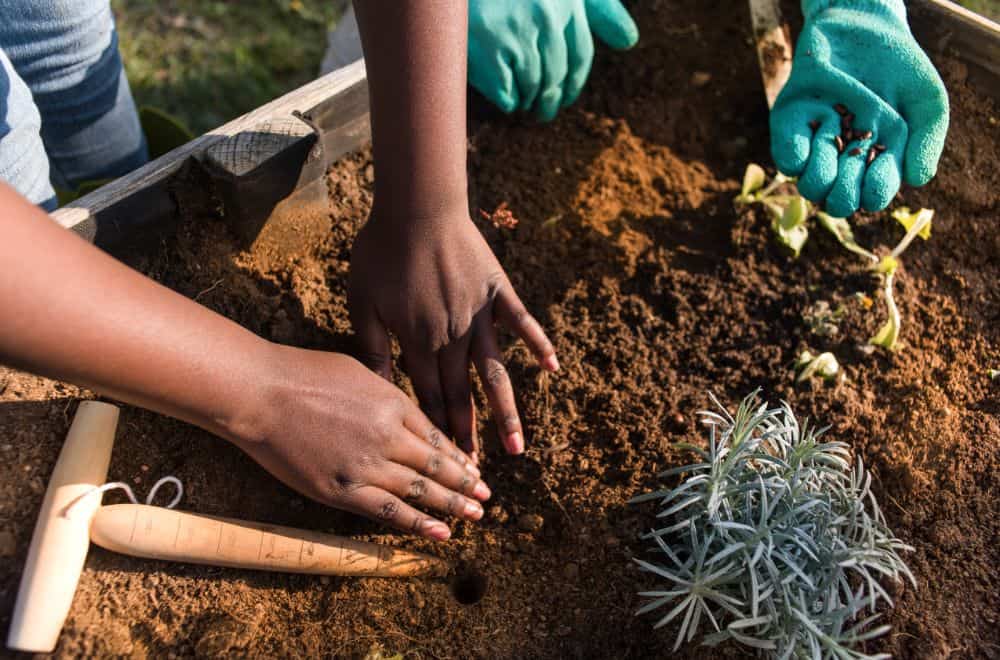
1. Take cuttings
One of the simplest ways to boost your plant collection is to collect cuttings.
Many plants will regrow from a stem or even leaf cutting, and all you need to do is place it in water and then pot it when the roots are developed enough.
Since the damage to the parent plant will be minimal, most people won’t mind you taking a cutting from a plant or tree, so if you see one you like at one of your friend’s houses, ask them – and you can have a go at growing one of your own.
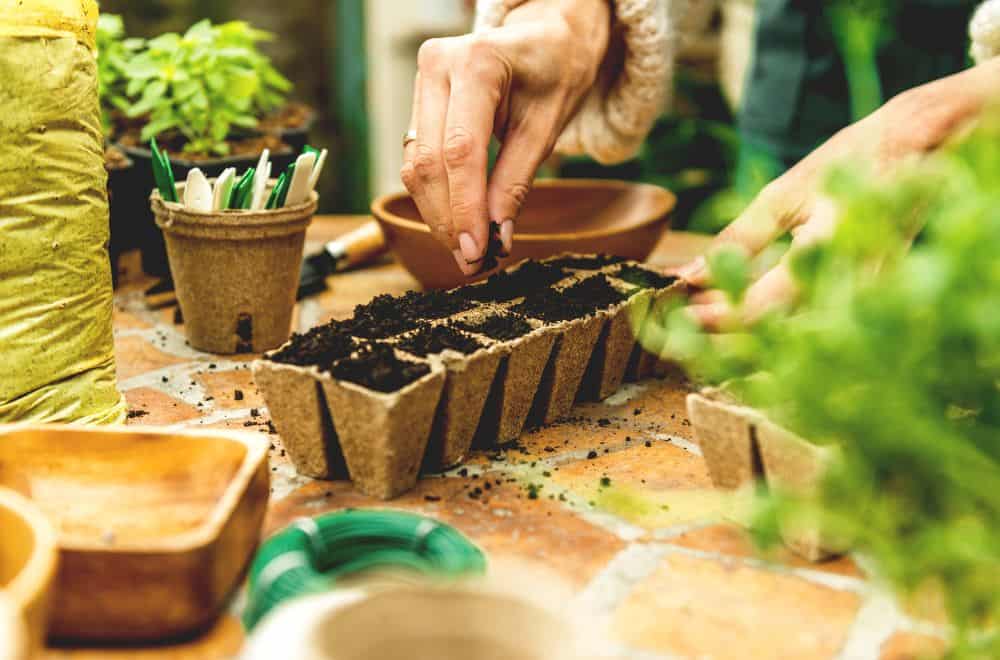
2. Save seeds
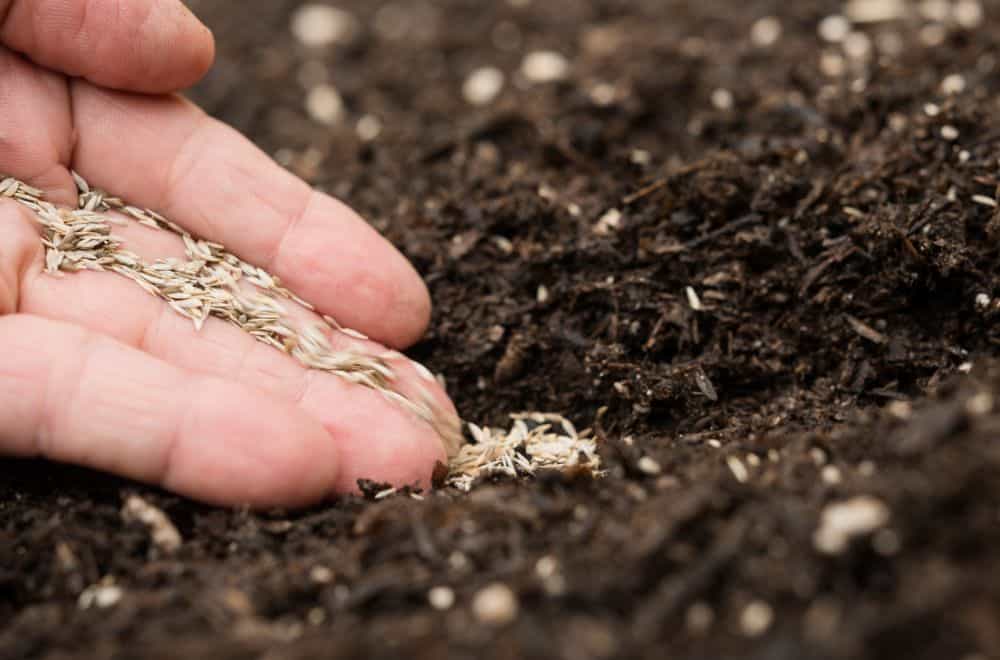
Saving seeds is another simple way to increase the number of plants in your garden, and there are a couple of ways to do it.
First, with the plants you already have, all you need to do is let them go to seed and then collect the seeds. Once you clean them off and dry them out, you can then replant them and let them grow.
Alternatively, you can collect seeds from some of the fruit and vegetables you buy as food.
Not all of these will produce fruiting offspring since much of the food we buy comes from hybrids.
However, if you choose heirloom or organic varieties, you can often grow them from seed and get them to fruit – and if not, they still may grow into attractive plants in their own right.
3. Propagate leftover food plants
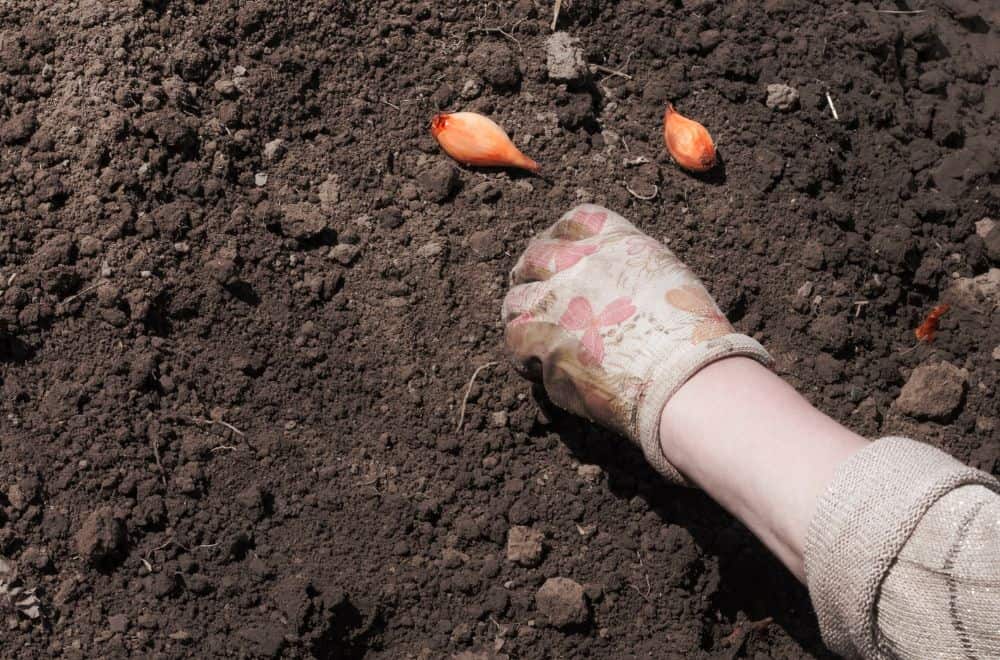
Another way to populate your vegetable garden is to propagate food remains that you don’t finish.
For example, herbs like basil or mint grow readily if you put them into water, and once the roots develop, you can easily transplant them to pots.
Alternatively, onions, spring onions and shallots often start sprouting before you have time to eat them – so instead of throwing them out, try planting them and nurturing them, and they can provide you with a constant supply without needing to buy more.
Leeks can be grown in a similar way, ginger rhizomes can sometimes be coaxed into giving you ginger plants, potatoes or sweet potatoes often willingly sprout, and you can even grow a pineapple plant by cutting the top off, allowing roots to develop and then planting it.
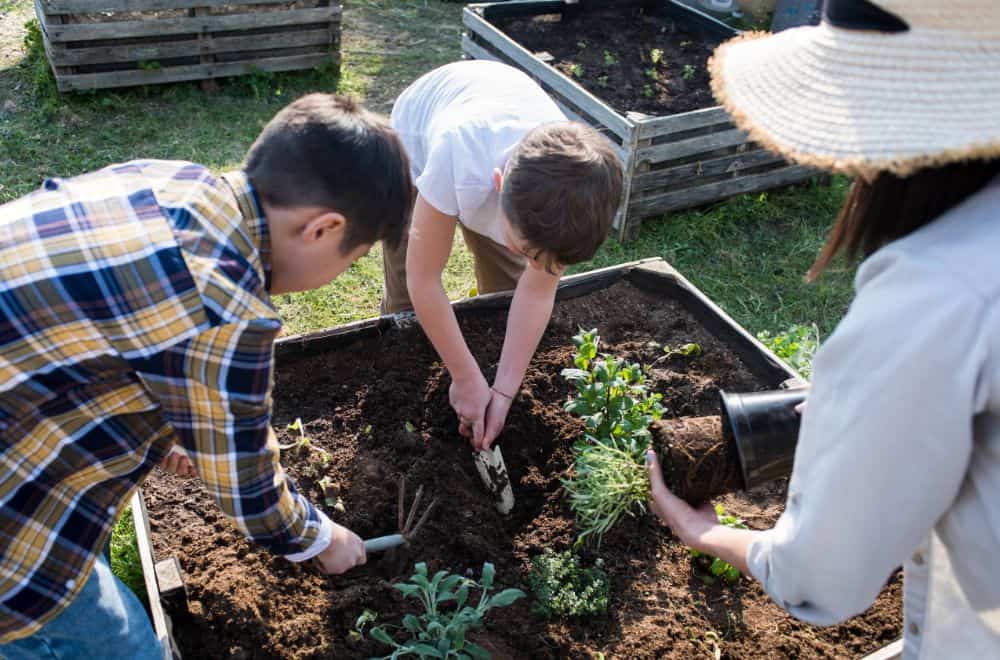
4. Take extra plants from others
A ready source of free plants can often be your friends and perhaps your neighbors.
If you have friends who are also keen gardeners, at the start of the growing season, they are likely to have too many seedlings since everybody always sows more seeds than they can grow.
For this reason, you should make sure you let them know you’re willing to take in the surplus, and as soon as they have enough established seedlings, they’ll start sending some your way. In return, you might also offer them some of the extra seedlings you’ve grown and don’t need.
As the weather starts to warm and your neighbors head outside to get their gardens into shape, this is also a good time to ask if they have any leftovers you can adopt.
Cleaning up a garden and getting it ready for spring means pulling up or dividing old plants, and instead of throwing them out, they’ll probably be happy to pass them on to you. You could even offer to help them with the work in return for the plants they don’t need.
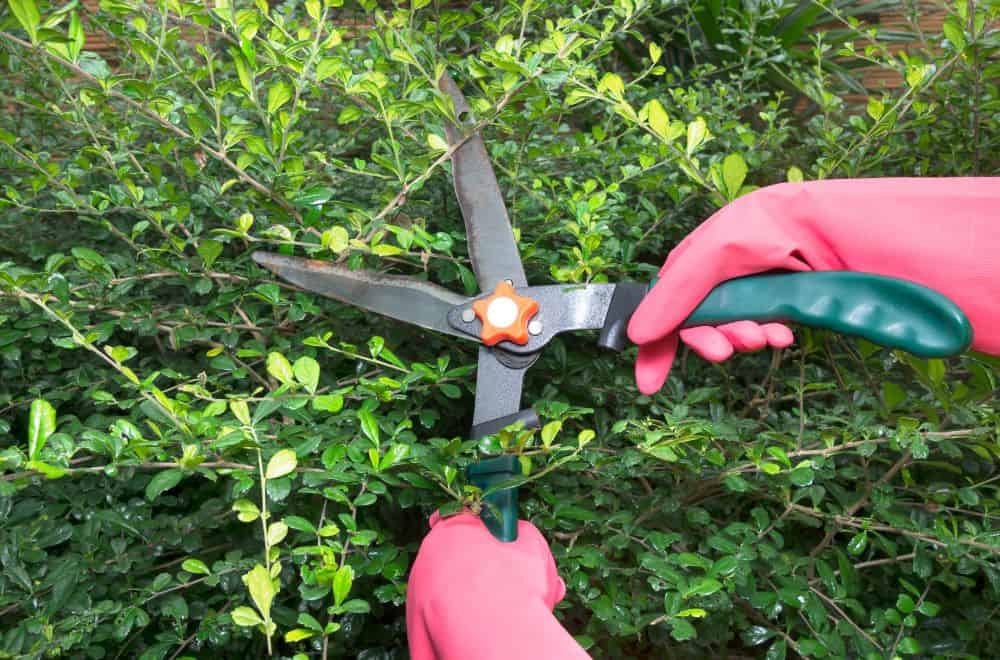
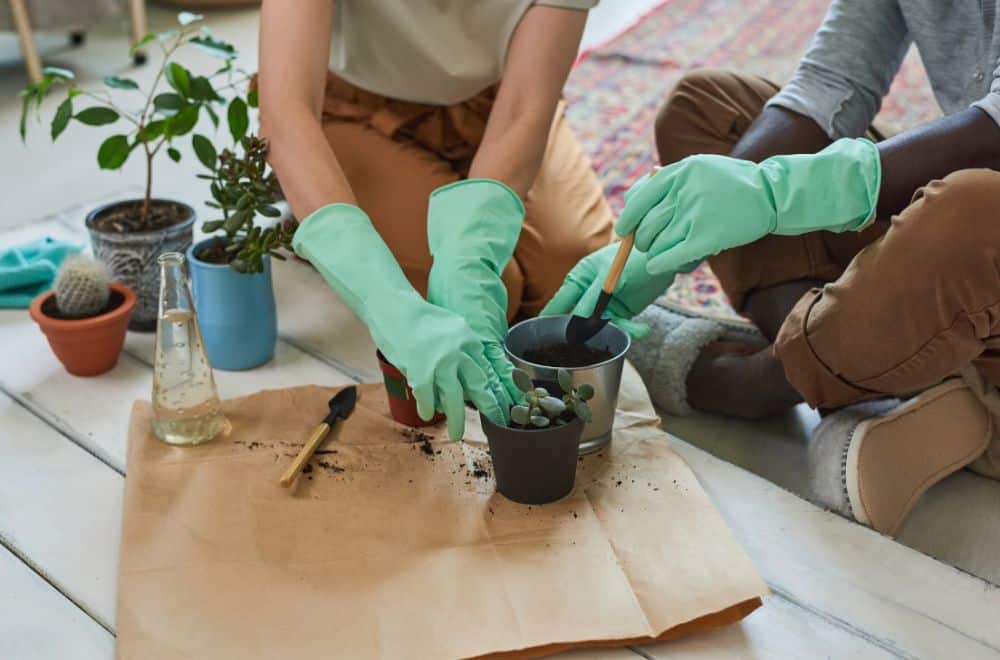
5. Divide larger plants
Dividing larger plants is an essential part of keeping certain species healthy, and when you do it, you’ll end up with baby plants too.
You can then keep the small ones and grow them – or you can use them to exchange with others if you are looking to obtain new species.
6. Take advantage of “volunteers”
“Volunteers” are plants or trees that seed themselves, and if they start growing in your yard or garden, you can simply adopt them, transplant them as necessary and start caring for them just like any of your other plants.
Volunteers can arrive in a number of ways. For example, seeds may be blown in on the wind or they can be dropped into your garden in bird poop.
You might not be able to choose what comes your way, but when something good arrives, take advantage of the generous bounty of nature to increase the variety of plants you grow.
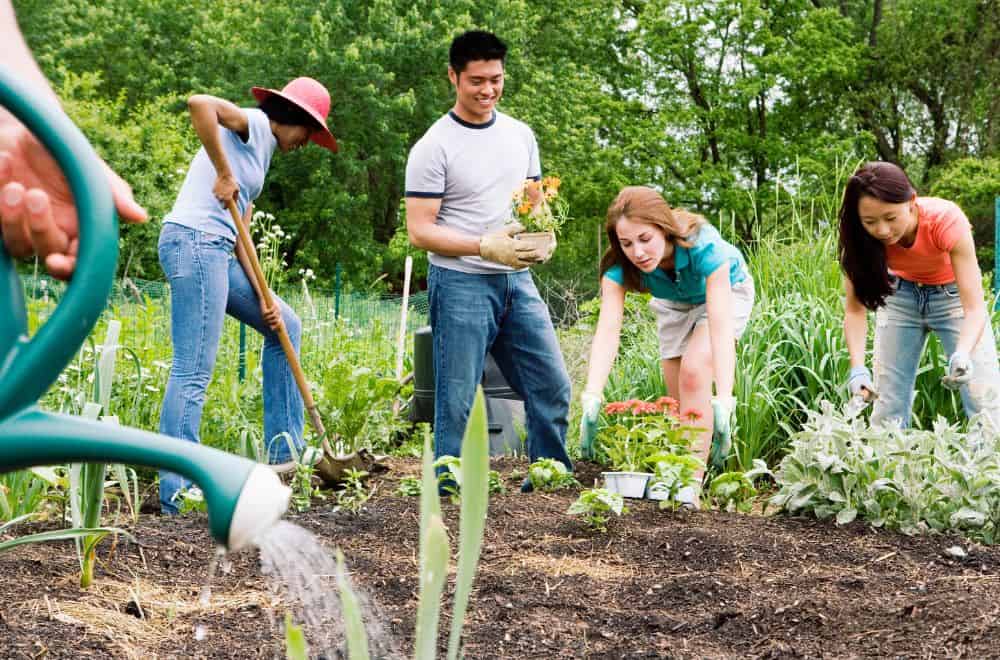
7. Host a plant or seed swap
If you only collect seeds or cuttings from the plants you already grow, you’ll never acquire any new species – so the answer is to host a plant or seed swap.
This way, you can offer other people the seeds you’ve collected or the plants you’ve grown from cuttings – and in exchange, they’ll bring you new species that you currently don’t own.
Furthermore, if you invite people you don’t know, you’ll make new horticultural contacts – and maybe even new friends – and you’re likely to pick up new gardening tips, tricks and hacks at the same time.
8. Join a club or group
Similar to hosting your own event, you can also join a club or a group that’s organized by somebody else.
This way, you may be able to attend regular meetups to discuss all things horticultural and exchange more tips and ideas with other keen gardeners – and of course, you will also be able to swap the various seeds and cuttings you bring with you.
Such clubs may have social media chat groups too, so if you ever have questions about gardening, advice from your peers is only ever a short message away.
Here is a famous one: https://www.facebook.com/groups/128514614589253/
9. Check the classified ads

Check classified ads in places like Facebook, Craigslist and others to see what you can find there.
Gardeners often don’t like the idea of simply throwing out plants that they’ve grown, even if they’re surplus to requirements and are just taking up space.
Instead, they may place adverts stating that they’re giving away plants for free – as long as you’re willing to go there and collect them.
10. Post an ad of your own
Sometimes people might not bother to go to the lengths of posting their own ad offering their surplus plants to whoever wants them – but if you post an ad saying you’re interested in picking up whatever’s going, people may be willing to respond.
That way, you’ll have people offering you all kinds of plants that they have grown and no longer want – and depending on how many responses you get, you may even find yourself in a position where you can pick and choose.
11. Contact landscaping or construction companies

Another top way to increase the number of plants you own is to contact local landscaping or construction companies who might be digging up and throwing out old plants to replace them with new ones or simply to build where they were growing.
You may find that they are happy to put some aside for you to come and collect instead of disposing of them, and this can be a great source of some more mature plants or even trees.
Make sure you turn up to collect them on time – or they may find you more of a pain than a help. But if you establish a good reputation with them, they will be pleased to let you take their old plants rather than having to dispose of everything themselves.
12. Contact your local extension office
A cooperative extension – or just “extension” for short – is the branch of one of over 100 land-grant universities and colleges in the US tasked with offering practical, research-based information about soil, gardening, crops, pests, landscaping, and more.
They run a range of volunteer operations and will often have plants they are willing to give away for free.
And if not, they may still be able to point you in the right direction if they know you are on the lookout for freebies, making them an extremely useful resource to be in touch with.
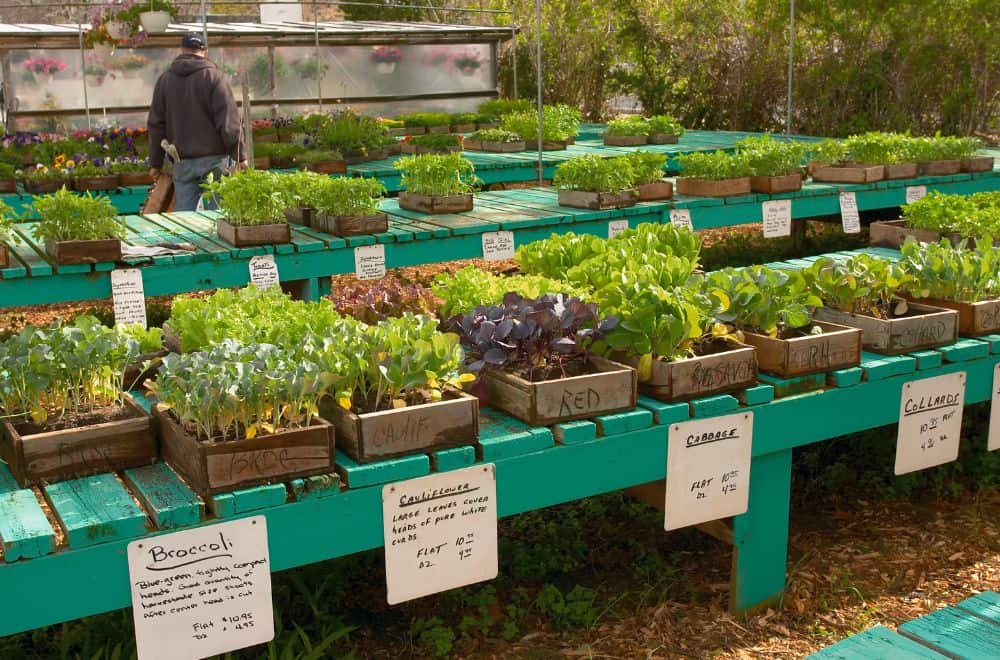
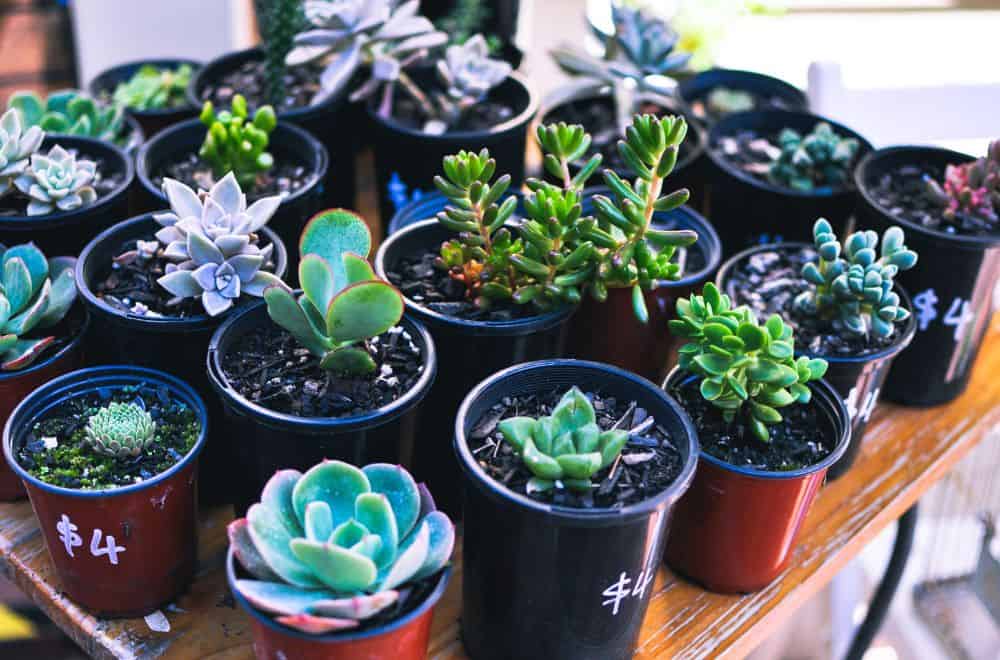
13. Take leftovers from shops and garden centers
At certain times of year, it’s traditional to give plants or flowers as gifts – think Mothers’ Day or Easter. As a result, shops and garden centers are filled with plants to be bought as gifts – and after the date has passed, whatever’s left usually goes in the trash.
This makes these times ideal moments to go round asking if there are any leftovers that you can take away for free – or at worst, at seriously reduced prices.
You may also try doing the rounds of local garden centers at the end of each season because at those times, whatever has not been sold will end up being unceremoniously thrown out.
Some of the plants you pick up this way may be in need of a little TLC – but nurturing plants you find in a sorry state back to health can be rewarding in itself.
14. Check flea markets and yard sales
In a similar vein, doing the rounds after flea markets or yard sales may yield similar results.
If sellers take plants to sell but some remain at the end of the day, they may not be willing to take them back again and will simply throw them out then and there.
But if you step in at just the right moment, you may be able to offer to take the unwanted plants off their hands for free – or again, at significantly lower prices than you would have paid earlier in the day.
15. Sign up to mailing lists

Lowes and Home Depot run garden clubs, and if you sign up, you will regularly receive coupons for things like “buy one, get one free” offers.
Ok, so you still need to buy one to get the second free, but it’s still a great way to obtain extra new plants. And they may also sometimes run promotions that include freebies, so it’s worth signing up to their mailing lists.
16. Take advantage of catalog promotions
A similar technique is to look out for catalog promotions that give seeds away as a gift when you purchase other seeds. Again, you have to buy some seeds to receive the free ones – but it will still give you more seeds for the money you pay.
17. Check social media

Social media groups on Facebook and Instagram exist that are dedicated to helping people find free stuff, and if you sign up to them, you’ll be alerted any time somebody sees trees or plants being thrown out.
All you then need to do is head out to the location and collect your prize.
Sign up to dedicated horticultural groups and the alerts you receive will be more specific.
18. Engage in “curb shopping”
“Curb shopping” is a similar concept, but rather than waiting for info from social media, it involves being more proactive and heading out to look for stuff yourself.
If you jump in your car and take a drive during spring when people are clearing their gardens, you may come across all kinds of interesting plants that are being thrown out – and that are just waiting for you to save them.
19. Take them from the wild
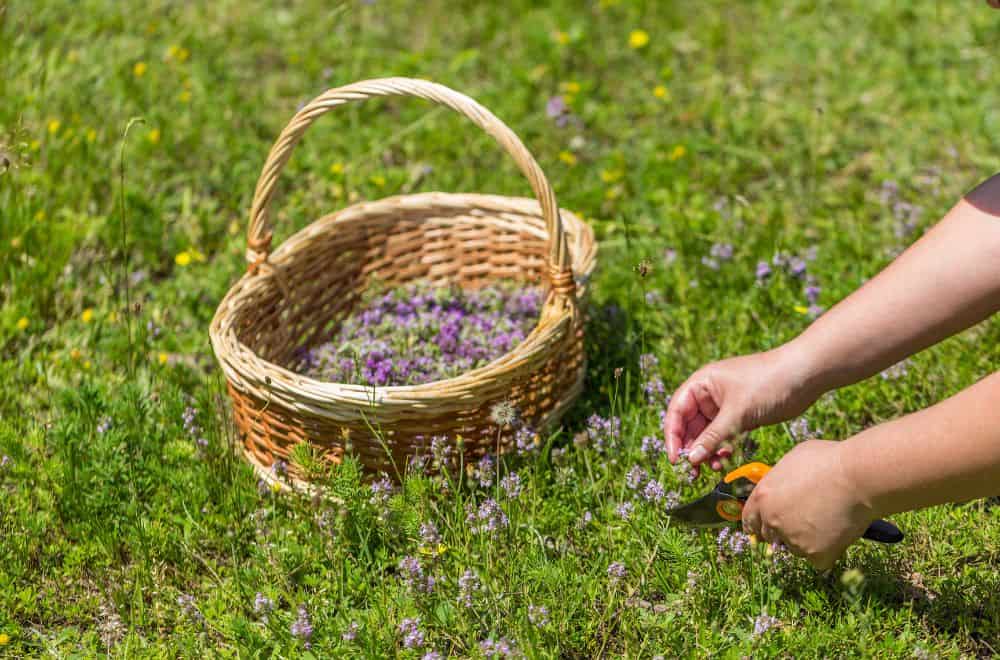
You need to be careful about this one because you can’t just head into the forest and start uprooting any plants and shrubs that take your fancy.
However, if you see things growing by the side of the road that are likely to be cut down or pulled up because they’re not supposed to be there, there’s nothing to stop you from taking them first.
Just make sure you don’t take home anything that’s rare or protected.
No need to spend money on plants ever again
As we have seen, there are so many great ways to expand your collection of plants, flowers and trees for free – and if you rely on some or all of the ideas we’ve mentioned in this post, you might never need to spend money on plants ever again!